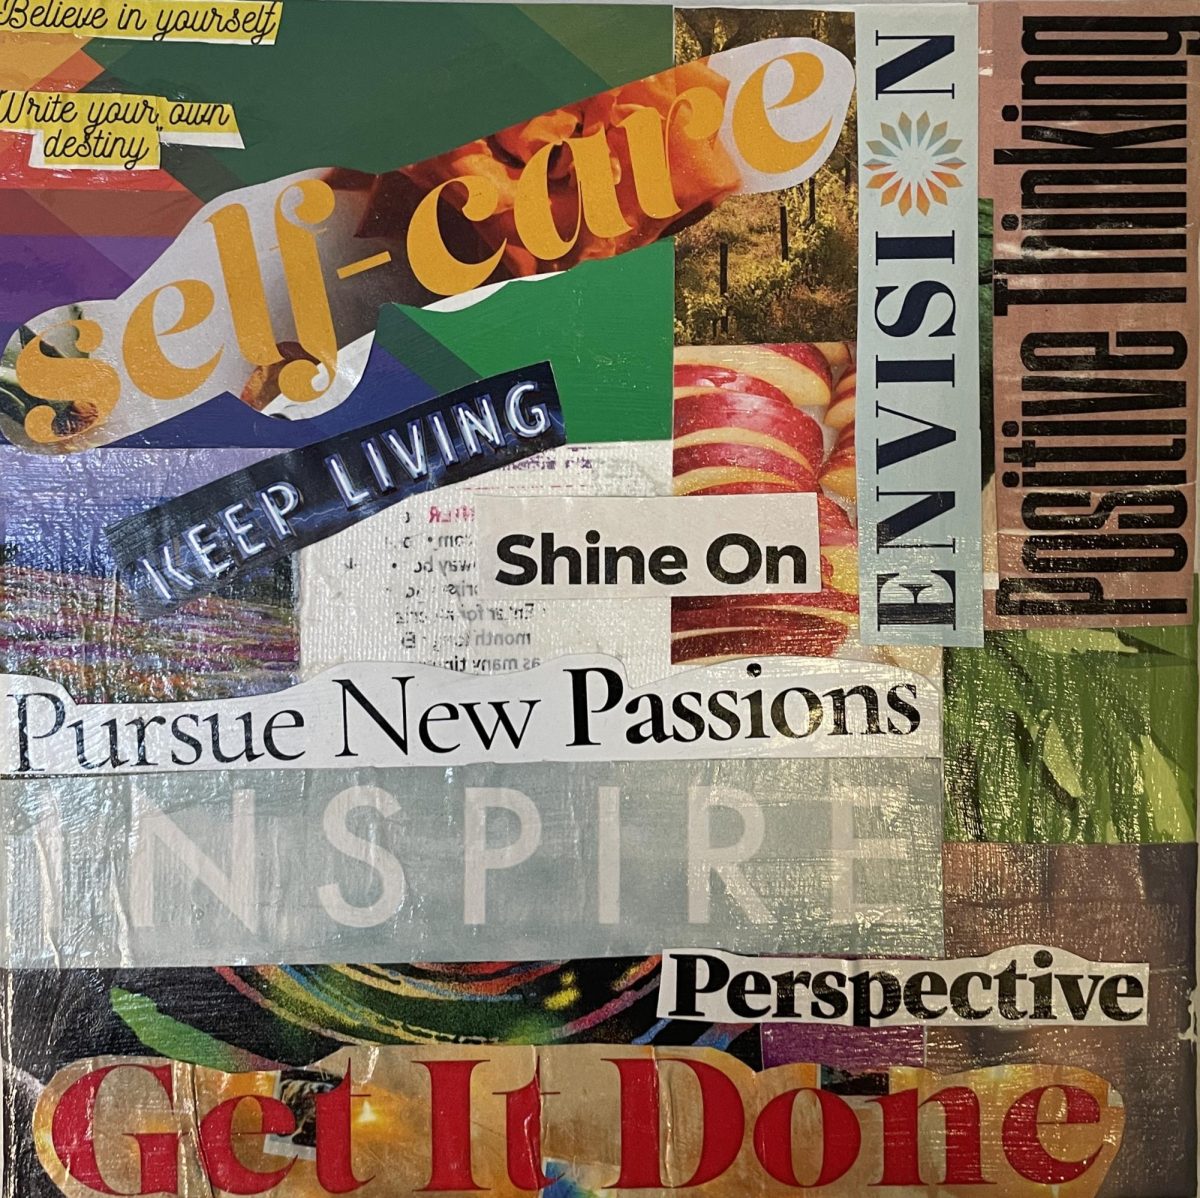
We all have aspirations for the upcoming year, but often, we struggle to put them into action. If you tend to have big goals, but find yourself falling short of them, a visual reminder may be just the way to help you find the motivation to pursue your dreams in 2024.
Vision boards are typically collages made of photos, magazine clippings, and inspiring quotes. You can determine the size, colors, format, theme, and shape of your vision board to truly personalize it. For example, if you’re always on the go, a digital vision board set as your home screen may be the perfect reminder you need to stay determined throughout the day.
A vision board is solely dedicated and designed to encapsulate and display what you want for yourself. While creating your board, make sure it accurately reflects your goals and personality. It’s perfectly fine and even encouraged to seek inspiration from friends, family, and even online, but it should still be tailored to you and your interests.
Some examples of things to incorporate into your vision board are pictures of role models, motivational quotes, visually appealing photos, images of your hobbies or interests, or even pieces of art you have made. You may also choose to incorporate decorative tape or 3-D elements.
Color can impact our mood drastically, so it’s important to choose colors for your board that make you feel uplifted. You can make your vision board black and white if you prefer, but warm cheery tones such as bright yellows or blue can give your board a vibrant touch
The first step to creating a vision board is to gather materials. First, choose your canvas or backdrop. You can use an actual canvas, a piece of paper, cardboard, a poster board, or a digital program such as Canva. Then, pull together a decent-sized collection of magazine cutouts, images, and text to incorporate.
Once you have compiled your materials, start arranging them across your backdrop. Begin with larger photos or items that take up the most space, and from there, you can arrange your smaller pieces in the empty space. After you’re content with your arrangement, attach the elements of your design to the backdrop, starting with the larger ones. You may choose to use pins, glue, or tape.
Good job – you’re almost done! The typical last step is to finish your design with a top coat of Modge Podge or another artsy sealant to make your board glossy and smooth.
Congratulations on creating a vision board! The most important part of this entire process is to place this board somewhere you will refer to it often. Try your bedroom door, or maybe your desk. No matter where you hope to be in the future, making a vision board can help you get there. Thanks for reading, and happy crafting!

